The best highlighter for glowing skin is the one that looks like your skin got better lighting, not like you added a stripe of shimmer. In 2026, the market is crowded with “glass skin” promises, but the difference between believable glow and obvious sparkle still comes down to finish, undertone, and how it sits on texture.
If you’ve ever bought a highlighter that looked stunning in the pan and then emphasized pores, acne marks, or fine lines, you’re not alone. Most disappointment happens when formula and placement don’t match your skin type or the look you actually want: dewy, radiant, glossy, or soft-focus.
This guide walks you through what to buy and how to use it, with a quick comparison table, a fast self-check, and practical steps for different skin types. No overpromises, just what tends to work in real bathrooms and real car-mirror touchups.
What “glowing” really means in a highlighter (and why many look harsh)
“Glow” is a finish category, not a single product type. Two highlighters can be equally bright, but one reads as healthy radiance while the other reads as glitter.
- Lit-from-within sheen: micro-fine pearl, no visible sparkle, best for everyday.
- Glossy / glassy: reflective, often cream or balm, looks amazing in low light but can move makeup.
- Soft satin glow: slightly blurred shine, often baked powders, good for texture-prone areas.
- Metallic pop: high reflect, often for photos or editorial looks, more likely to show pores.
Many “too much” moments come from particle size. Larger shimmer particles catch light separately, so your cheek looks speckled instead of smooth. If your goal is the best highlighter for glowing skin, aim for micro-pearl and a finish that matches your base makeup.
Quick comparison table: picking a formula that behaves on your skin
Use this as a shortcut before you get pulled into a hundred TikTok swatches. These are patterns that hold up across brands.
| Formula | Best for | Watch out for | Application sweet spot |
|---|---|---|---|
| Powder (pressed/loose) | Normal to oily skin, long wear, easy layering | Can emphasize dryness/texture if too sparkly | On top of set base, small brush, light pressure |
| Baked powder | Satin glow, smoother look, beginners | Some run warm; can look frosty if too light | Fluffy brush, build slowly |
| Cream | Dry skin, natural glow, quick blend | May lift foundation if rubbed too hard | Tap with fingers/sponge over cheekbone |
| Liquid | Mixing with base, intense glow, photos | Can separate on oily zones; easy to overdo | One tiny dot, spread outward fast |
| Balm / “glow stick” | Glossy glass-skin look, minimal makeup days | Can feel tacky, may shift sunscreen or blush | Warm on hand, then press onto high points |
Self-check: how to find your “best highlighter for glowing skin” match
Before shopping, decide what you’re optimizing for. The right pick often changes with climate, skin prep, and whether you set your base.
- Skin type: oily skin often prefers powders or baked formulas; dry skin usually likes creams or liquids layered under a light powder.
- Texture concerns: visible pores and acne texture tend to look smoother with satin finishes and micro-pearl.
- Undertone: cool (pink/rosy), warm (gold/peach), neutral (mix). When in doubt, neutral-champagne is the safest.
- Base makeup: matte foundations pair better with powder or baked; dewy bases pair well with creams/liquids.
- Setting habits: if you set with powder, a cream on top can skip; consider powder highlight instead.
Key point: a shade that’s too light reads “frosty,” too dark reads “stripe.” You want a tone that melts into your skin and only shows when light hits.

If you’re torn between two categories, pick based on your worst day, not your best. The best highlighter for glowing skin is the one you still like when you’re in a rush, the lighting is bad, and your skin feels “meh.”
How to apply highlighter so it looks like glow, not shimmer
Placement matters more than price. A great formula can look wrong if it sits where your face naturally creases or where pores are most visible.
Step-by-step (works for most people)
- Start with thin layers: highlighter looks most natural when it builds slowly.
- Hit the high points only: top of cheekbone, a touch on brow bone (optional), inner corner (tiny), cupid’s bow (only if you like that look).
- Keep it off the center cheek: that’s where pores often show most.
- Use tapping, not rubbing: tapping keeps base makeup intact and avoids patchiness.
- Blend the edge, not the center: diffuse outward so the bright spot stays tight.
Tool choices that change the finish
- Small fluffy brush: soft glow, easiest control for powder.
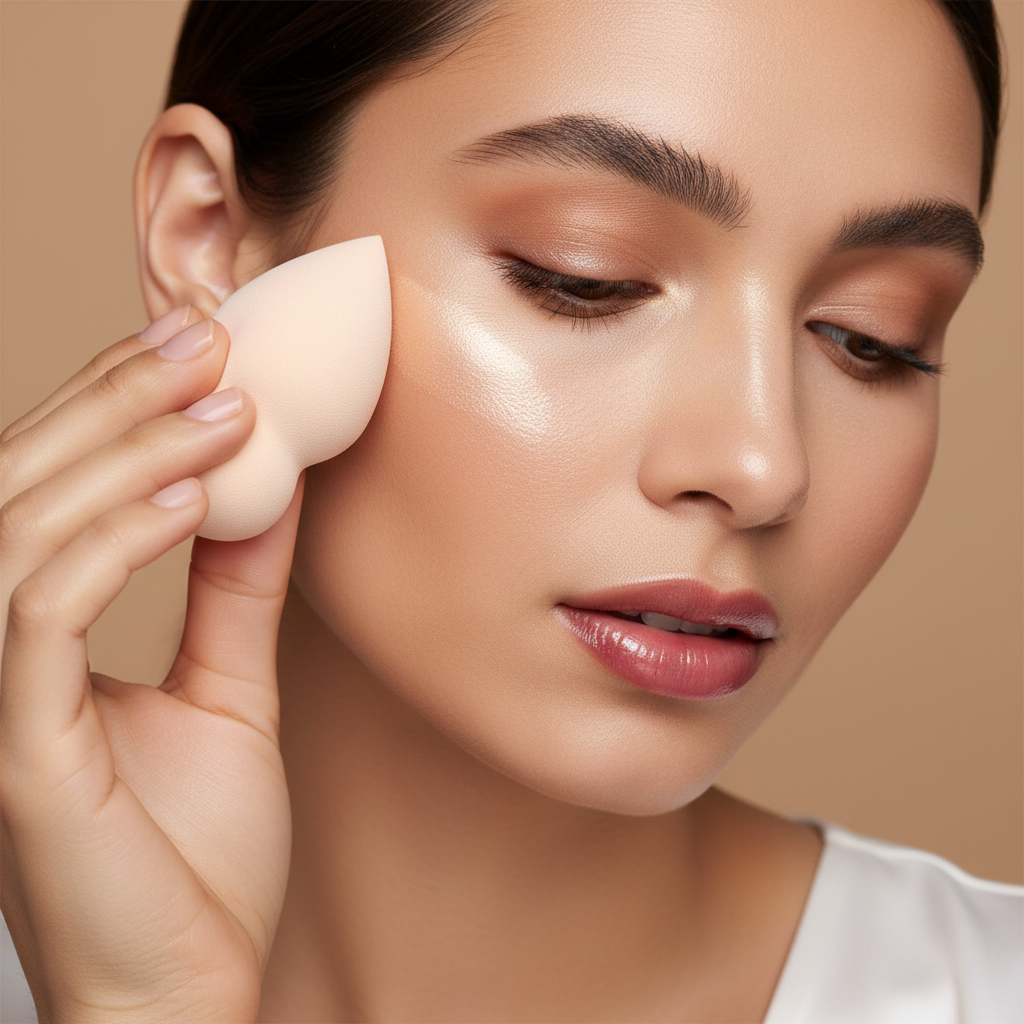
- Damp sponge: natural “melted” finish for cream or liquid, also helps remove excess.
- Fingers: fastest for creams, but press lightly to avoid moving foundation.
According to the American Academy of Dermatology (AAD), daily sunscreen is a key part of protecting skin from UV damage. If you rely on a glowy base, keep in mind some high-shine products can make you feel like you need less skin prep, but SPF still does the real work.
Scenario-based picks: what usually works in real life
Rather than claiming one universal winner, here are the combos that most often deliver that “you look rested” glow.
If you have oily skin or your T-zone eats makeup
- Choose pressed powder or baked highlighter with micro-pearl.
- Apply after setting your base, then mist lightly to take down powderiness.
- Skip balm on cheekbones if you hate tacky feel or slippage.
If you have dry skin or flaking around cheeks
- Choose a cream or liquid highlight, then add a whisper of satin powder only if needed.
- Prep matters: hydrating moisturizer helps more than adding more highlighter.
- Avoid chunky shimmer, it clings to dry patches.
If you have texture, acne marks, or visible pores
- Look for satin or “soft glow” finishes, not glitter or metallic.
- Place higher on the cheekbone, not on the apples of the cheeks.
- Use a smaller brush and keep the bright spot tight.
If you want a “glass skin” look for photos or nights out
- Layer: liquid under makeup, then a tiny amount of powder on top.
- Do a lighting check: bathroom lighting hides texture, car daylight shows everything.
- Consider setting spray to fuse layers, but go light to avoid dots.
If you’re shopping for the best highlighter for glowing skin in 2026, “wearable” should be part of the definition. A product that looks perfect only under ring lights is fun, but it’s not always the one you reach for on a Tuesday.
Mistakes that make glow look greasy, glittery, or patchy
- Using too much too fast: one extra dip can turn glow into a foil stripe.
- Highlighting textured zones: center cheek and around active breakouts often reflect unevenly.
- Mixing incompatible layers: balm over heavy powder can pill; powder over tacky cream can clump.
- Wrong undertone: icy highlighter on warm skin can look gray, golden highlight on cool skin can look brassy.
- Forgetting neck/chest context: if your face is much more reflective than the rest, it stands out.
A small trick that saves a lot of looks: after applying, take a clean brush and buff the edges with no product. It “erases” harsh lines without removing the glow you wanted.
Practical routine: a 3-minute glow that survives normal life
This is the routine many people end up with after testing a bunch of products and getting tired of high-maintenance steps.
- Step 1: Apply base makeup thinly where you need it, keep cheekbone area lighter.
- Step 2: Tap a cream or liquid highlight on the top of the cheekbone.
- Step 3: If you get shiny later, add a tiny amount of satin powder highlight instead of piling on more cream.
- Step 4: Do a quick “real light” check near a window and diffuse edges.
Key takeaway: glow looks most expensive when it’s controlled, not when it’s everywhere.
When to be cautious and ask a professional
If you notice stinging, persistent redness, or breakouts after introducing a new highlight product, it may be fragrance, certain emollients, or even your removal routine causing trouble. Many reactions look like “my skin hates glow,” when it’s really a formula mismatch or irritation.
According to the U.S. Food and Drug Administration (FDA), cosmetics should be used as intended and discontinued if they cause adverse reactions. If symptoms continue or feel severe, it’s reasonable to stop using the product and consider asking a dermatologist for guidance, especially if you have eczema, rosacea, or acne under treatment.
Conclusion: the glow you want is a finish choice, not a hype chase
The best highlighter for glowing skin in 2026 usually isn’t the newest launch, it’s the formula and undertone that matches your skin and your habits. If you remember just two things, make it these: pick micro-pearl over chunky glitter, and keep placement high and tight.
If you want an easy next step, audit your current highlighter in daylight, then decide whether your issue is shade, texture, or layering. Fixing the right problem saves money and gets you to that “lit from within” look faster.